how to set timer on iphone camera
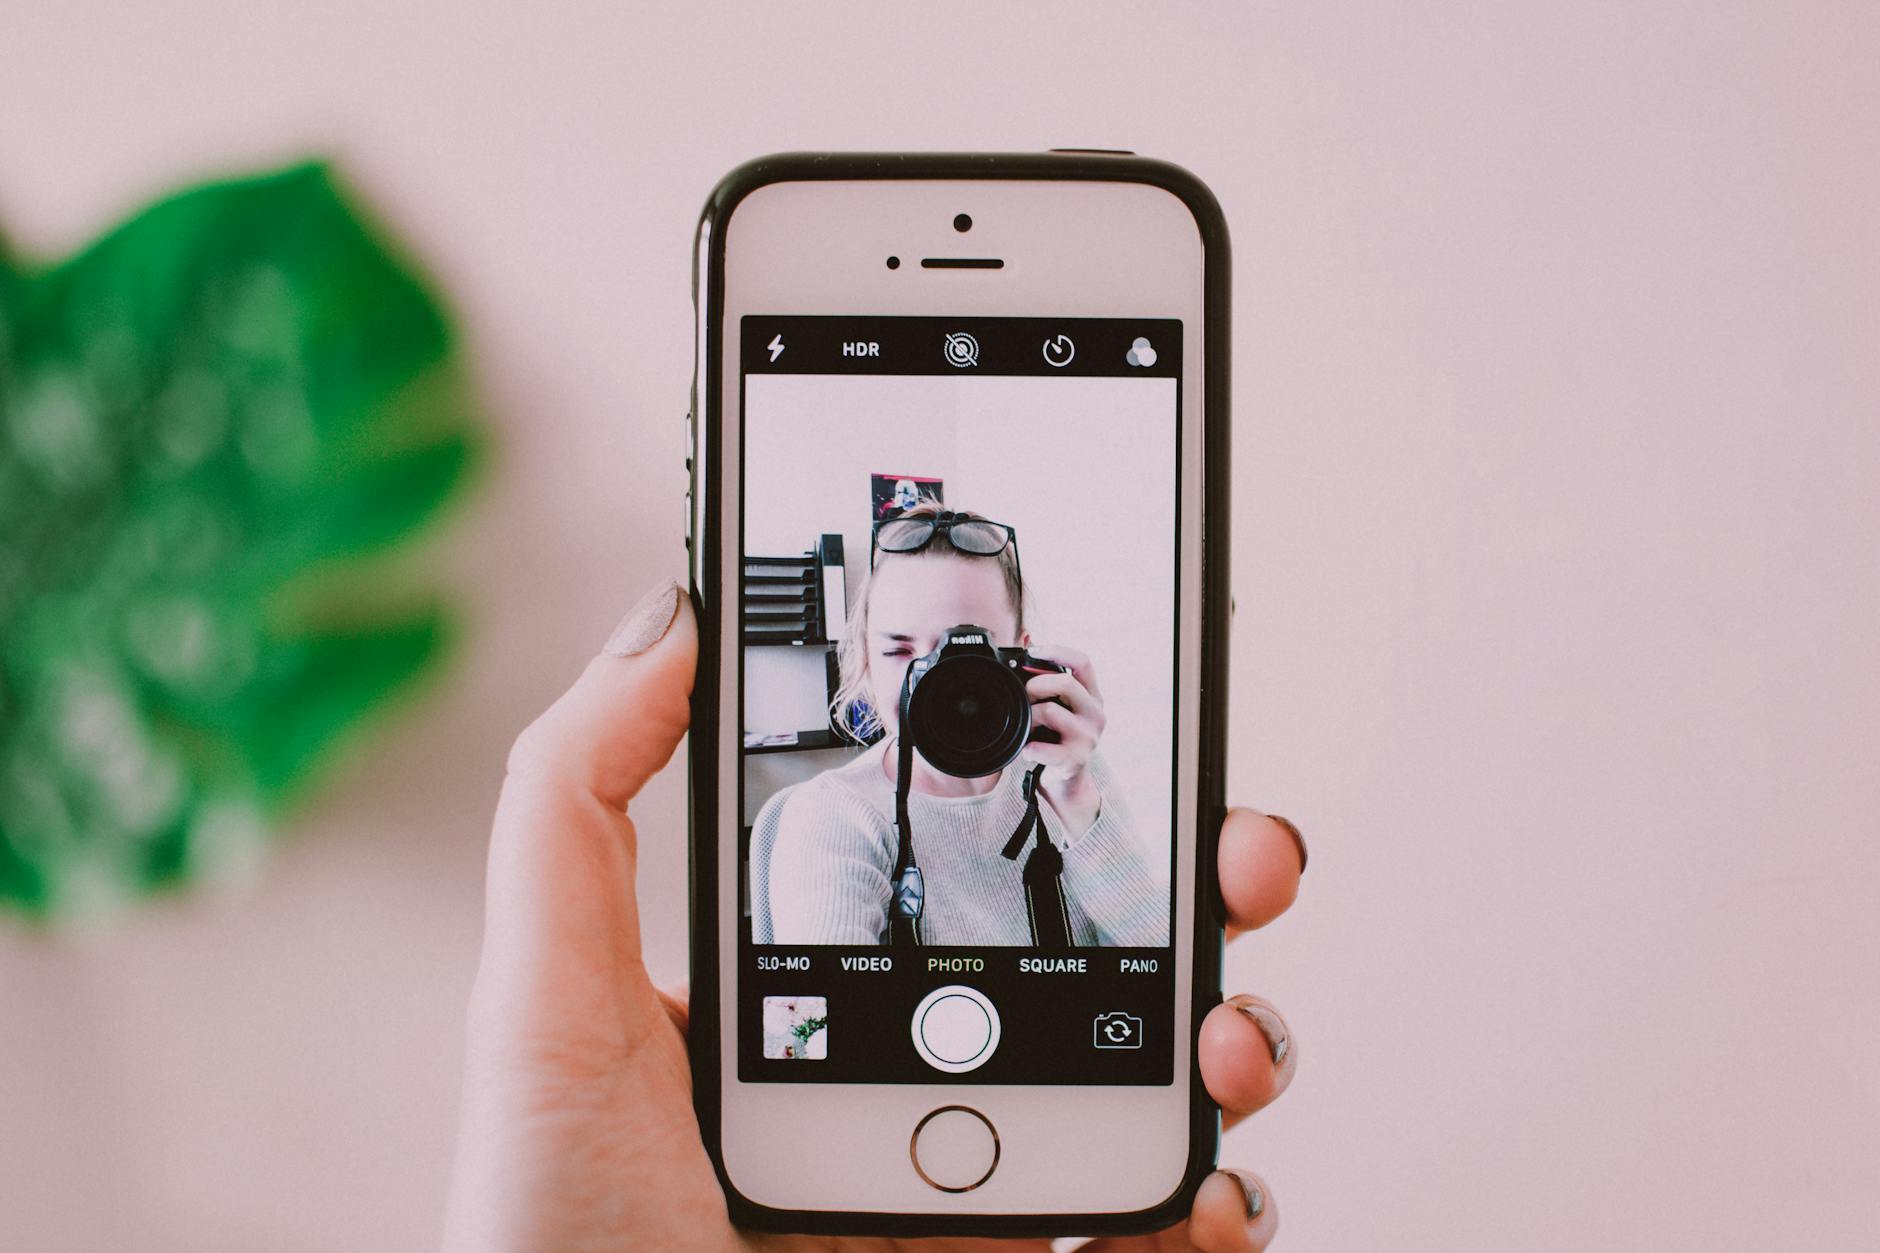
Ever found yourself rushing to get into a group photo, only to end up with a blurry sprint-and-pose shot? 📱 Or perhaps you’ve struggled to capture that perfect steady-handed night shot without any camera shake? The iPhone’s built-in camera timer is a game-changer that many users overlook.
How To Set Timer On iPhone Camera
Whether you’re a selfie enthusiast, family photographer, or aspiring Instagram influencer, mastering your iPhone’s camera timer can elevate your photography game from amateur to impressively professional. In this guide, we’ll walk you through everything you need to know about setting up and using your iPhone’s camera timer, along with other essential camera features that will help you capture picture-perfect moments.
Let’s dive into the step-by-step process of setting up your timer, adjusting focus, managing exposure, and utilizing other powerful camera features that will transform your iPhone photography skills. 🌟

iPhone User Guide
Basic Camera Controls
- Camera app location: Bottom right of lock screen or in app menu
- Quick access: Swipe left from lock screen
- Switch between front/rear cameras: Tap camera flip icon
- Access advanced controls: Tap arrow at top of screen
Camera Modes Overview
| Mode | Best Used For |
|---|---|
| Photo | Standard still images |
| Portrait | Professional-looking depth shots |
| Video | Moving footage |
| Time-Lapse | Extended time sequences |
| Slo-Mo | Slow motion captures |
| Pano | Wide landscape shots |
Essential Camera Settings
- HDR (High Dynamic Range): Automatically enabled for better light balance
- Live Photos: Captures 1.5 seconds before and after your shot
- Aspect Ratio: Choose between 4:3 or 16:9
- Preserve Settings: Keep your preferred camera mode for next use
Gesture Controls
- Volume buttons: Can be used as shutter buttons
- Touch and hold: Burst mode for multiple shots
- Pinch screen: Zoom in/out
- Tap to focus: Sets focus point
- Slide up/down: Adjust exposure
These fundamental camera controls form the foundation for more advanced features. Now that you understand the basic layout and functions, let’s explore how to adjust your camera’s focus and exposure for better photos.

Adjust the camera’s focus and exposure
Manual Focus Control
- Tap anywhere on the screen to set focus point
- Yellow box appears indicating focus area
- Hold tap for AE/AF Lock (Auto Exposure/Auto Focus)
- Slide up/down to adjust exposure after focusing
Advanced Exposure Settings
- Tap the arrow at top of screen for additional controls
- Use exposure compensation slider (±) for fine-tuning
- Swipe left/right to adjust brightness levels
| Exposure Feature | Function | When to Use |
|---|---|---|
| AE/AF Lock | Locks focus & exposure | Moving subjects |
| Exposure Slider | Adjusts brightness | High contrast scenes |
| Tap to Focus | Quick focus adjustment | General photography |
Professional Tips
- Focus on eyes when shooting portraits
- Use AE/AF lock for consistent exposure in panoramas
- Avoid focusing on moving objects unless using AE/AF lock
- For macro shots, ensure minimum focus distance (2-3 inches)
Getting the right focus and exposure is crucial for capturing sharp, well-lit photos. The iPhone’s camera provides intuitive controls that let you adjust these settings with precision. Your photos will be properly exposed and crystal clear once you master these fundamental settings. Now that you understand focus and exposure control, let’s explore how to lock these settings for consistent results.

Lock the Exposure Setting
Lock exposure on your iPhone camera to maintain consistent lighting in your photos, especially when shooting in challenging light conditions. Here’s a comprehensive guide to mastering exposure lock:
Steps to Lock Exposure
- Open your iPhone Camera app
- Tap and hold on the area where you want to set exposure
- Wait for the “AE/AF LOCK” banner to appear at the top
- Release your finger when locked
Advanced Exposure Control
- Fine-tune exposure by sliding up/down after initial tap
- Double-tap to re-enable auto exposure
- Works in all camera modes (Photo, Portrait, Video)
Common Scenarios for Using Exposure Lock
| Scenario | Why Lock Exposure |
|---|---|
| Backlit subjects | Prevent silhouettes |
| Mixed lighting | Maintain consistent brightness |
| Moving subjects | Keep exposure steady while tracking |
| Panoramas | Ensure even lighting across frame |
Pro Tips
- Lock exposure before using timer features
- Combine with focus lock for maximum control
- Use exposure compensation slider for precise adjustments
- Re-lock if lighting conditions change significantly
Now that you’ve mastered exposure control, let’s explore how to effectively use the flash feature to further enhance your iPhone photography.
Turn the Flash on or Off
The iPhone’s flash feature is crucial for capturing clear photos in low-light conditions. Here’s a comprehensive guide to controlling your iPhone’s flash settings:
Flash Modes Available
- Auto: iPhone automatically determines when flash is needed
- On: Flash fires with every photo
- Off: Flash remains disabled
- True Tone: Adjusts flash color temperature for natural lighting
How to Control Flash Settings
- Open the Camera app
- Tap the flash icon (lightning bolt) in the upper-left corner
- Cycle through available flash modes by tapping repeatedly
| Flash Mode | Best Used For | Battery Impact |
|---|---|---|
| Auto | General photography | Moderate |
| On | Dark environments | High |
| Off | Bright conditions | Low |
| True Tone | Portrait shots | Moderate |
Pro Tips
- Avoid using flash for distant subjects (effectiveness limited to 10-15 feet)
- Use Night mode instead of flash for better low-light photos
- Consider using flash as fill light in bright backlit situations
- Keep the flash lens clean for optimal performance
Using proper flash settings is essential for quality photos. Now that you understand flash control, let’s explore how to add creative filters to your iPhone photos.
Take a Photo with a Filter
Available Filters on iPhone Camera
- Mono – Classic black and white photography
- Noir – Dramatic dark tones
- Vivid – Enhanced color saturation
- Warm – Adds golden warmth to photos
- Cool – Creates bluish, cooler tones
- Studio Light – Professional lighting effect
- Stage Light – Spotlight effect on subjects
How to Apply Filters
- Open your iPhone Camera app
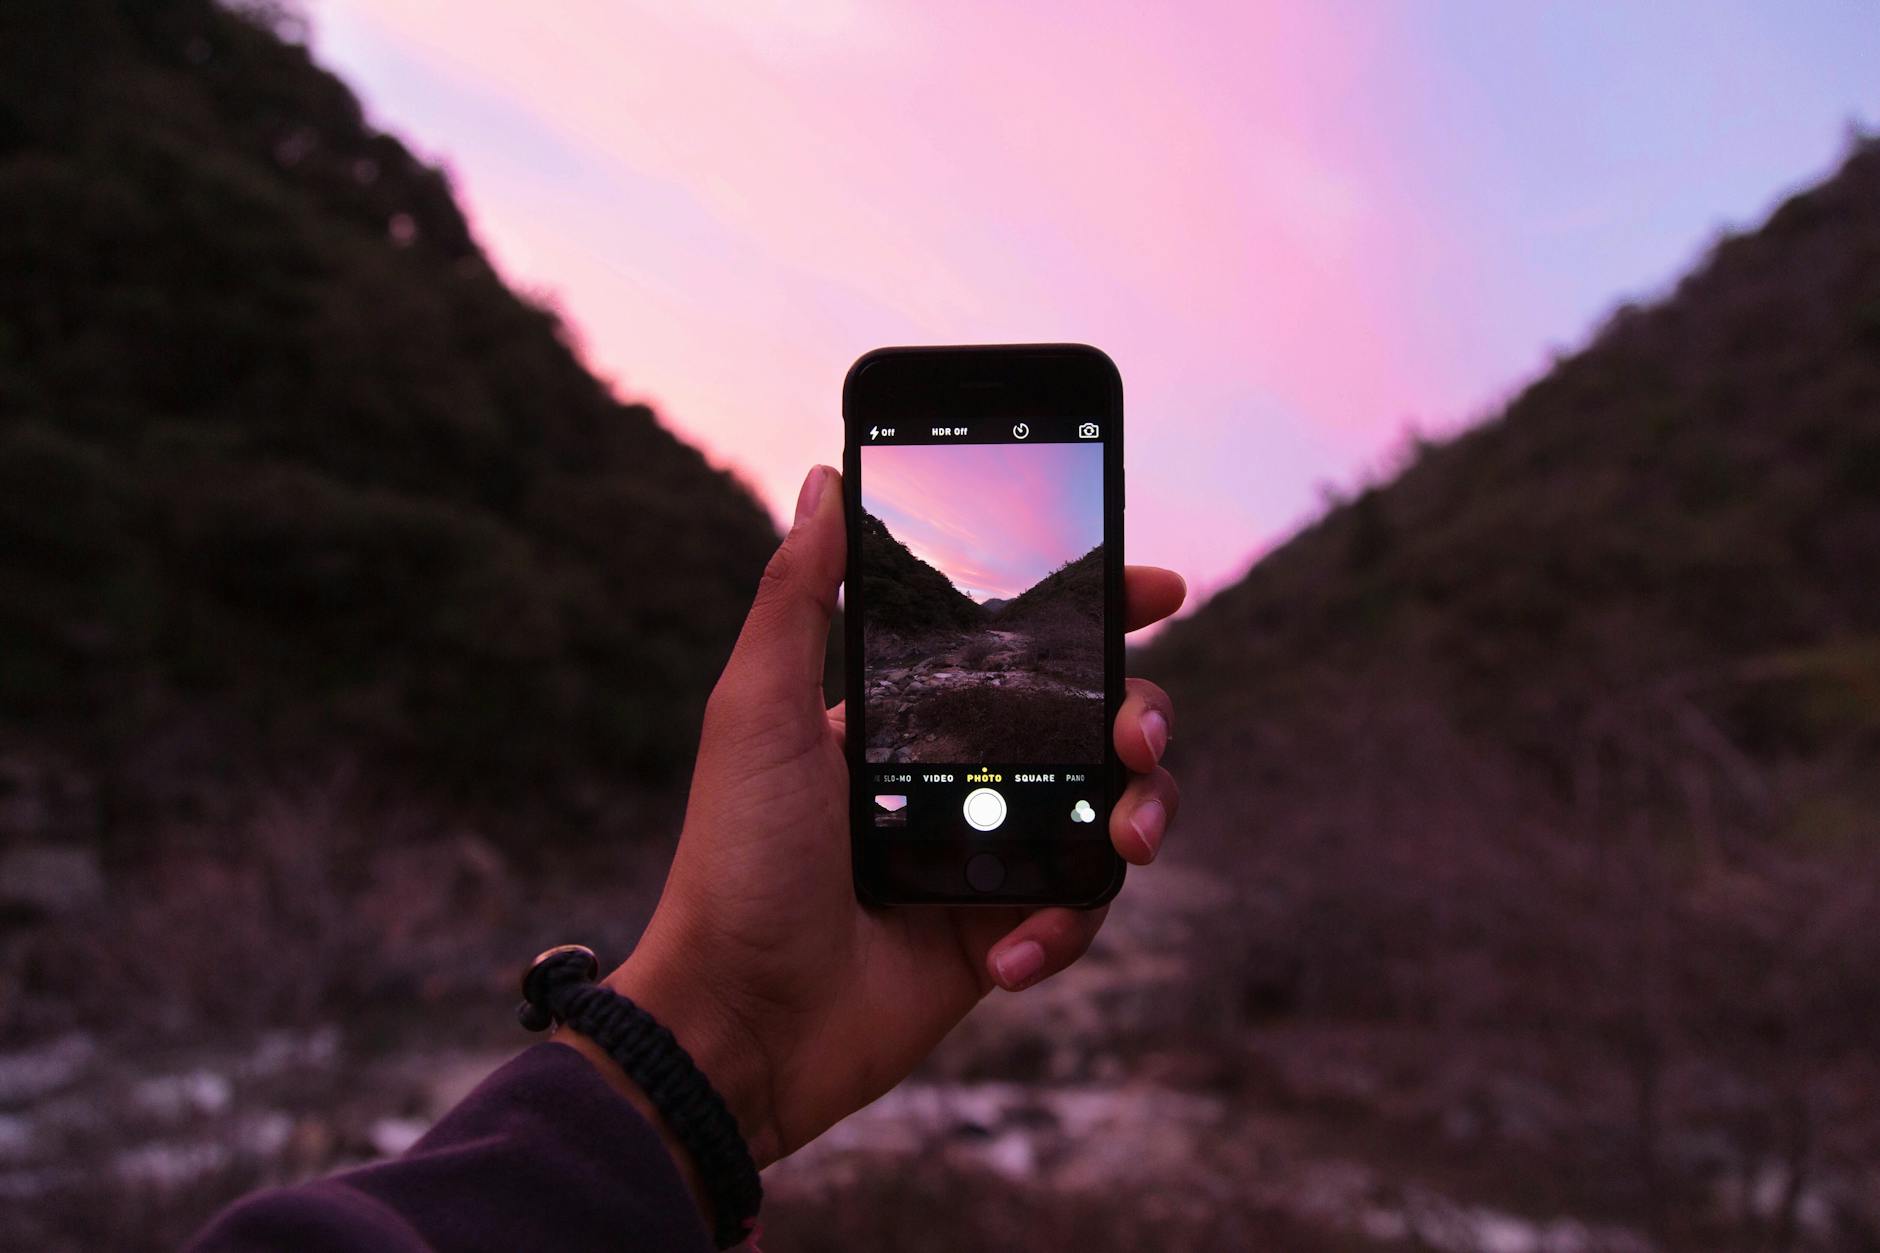
- Tap the filters icon (three overlapping circles) at the top right
- Swipe through available filters to preview effects
- Select your desired filter
- Take your photo as normal
| Filter Type | Best Used For |
|---|---|
| Mono/Noir | Portraits, Architecture |
| Vivid | Landscapes, Nature |
| Warm/Cool | Food Photography |
| Studio/Stage Light | Professional Portraits |
Tips for Filter Usage
- Preview filters before shooting to ensure desired effect
- Consider the lighting conditions – some filters work better in bright light
- Filters can be removed or changed later in Photos app
- Use filters consistently for a cohesive photo series
- Original photos are preserved when using filters
Now that you know how to enhance your photos with filters, let’s explore how to use the timer feature for perfectly timed shots.

Use the Timer
Setting up the timer on your iPhone camera is perfect for group photos, self-portraits, or steady long-exposure shots. Here’s how to effectively use this feature:
Steps to Set Up the Timer
- Open the Camera app on your iPhone
- Tap the timer icon (⌚) at the top of the screen
- Choose between 3 or 10 seconds delay
- Frame your shot and tap the shutter button
- Watch for the countdown display and flash indicator
Timer Mode Options
| Timer Setting | Best Used For | Features |
|---|---|---|
| 3 Seconds | Quick selfies, Minor adjustments | Brief countdown, Single flash |
| 10 Seconds | Group photos, Complex setups | Full countdown, Multiple flashes |
Pro Tips for Timer Photography
- Use a stable surface or tripod for the best results
- Enable Live Photos to capture moments before and after the timer
- Double-check your frame composition before starting the timer
- For front-facing camera shots, the screen will flash to indicate countdown
- The timer resets after each photo, so you’ll need to enable it again for subsequent shots
The iPhone camera timer works with all camera modes, including Portrait and Night mode. When using the timer in low light, ensure your iPhone is extra stable to prevent motion blur.
Now that you know how to use the timer effectively, let’s explore how to use the grid and level features to capture perfectly straight shots.
Use a grid and level to straighten your shot
The grid and level features on your iPhone camera are essential tools for capturing perfectly aligned photos. Here’s how to make the most of these professional-grade composition aids:
Enabling the Grid
- Go to Settings > Camera
- Toggle on “Grid”
- A 3×3 grid will appear on your camera screen
Using the Grid for Composition
The grid follows the “Rule of Thirds” principle, dividing your frame into nine equal parts:
| Grid Position | Recommended Subject Placement |
|---|---|
| Intersections | Main subject or focal point |
| Horizontal lines | Horizon, landscapes |
| Vertical lines | Buildings, portraits |
Level Indicator Features
- Appears as a white line when holding phone parallel to ground
- Turns yellow when perfectly level
- Works in both portrait and landscape orientations
Pro Tips for Straight Shots
- Use the grid lines to align architectural elements
- Keep the horizon line perfectly straight using the top or bottom horizontal grid line
- Center subjects by aligning them with the middle grid lines
- Check the level indicator before capturing important shots
Now that you know how to use the grid and level features effectively, your iPhone photos will have that professional, well-composed look that makes them stand out.
Taking professional-quality photos with your iPhone is easier than ever with the built-in timer feature and other camera controls. From adjusting focus and exposure to applying filters and using grid lines, these tools help transform ordinary snapshots into stunning images worth sharing.
Remember to experiment with different timer settings, exposure levels, and compositions to discover what works best for your photography style. Whether you’re capturing group photos, self-portraits, or challenging low-light scenes, mastering these iPhone camera features will significantly improve your photography skills and help you create memorable shots every time.motivenews.net
